User Guide for JPEG Recovery on Mac
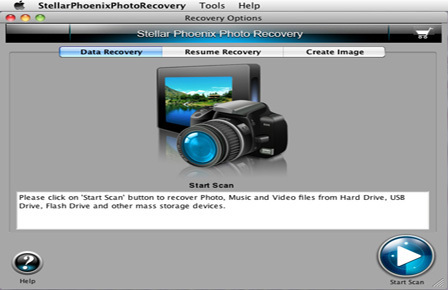
Step 1. Download and install JPEG Recovery Software on your Mac machine and after that connect your device with the computer. Now Run the tool and select Start Scan option.
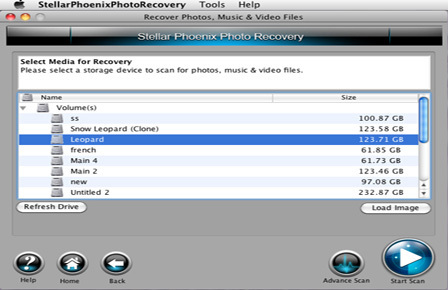
Step 2. Here you will get list of all available drives and here you have to select your storage media from m where JPEG recovery Mac is required. After doing that get Start Scan option.
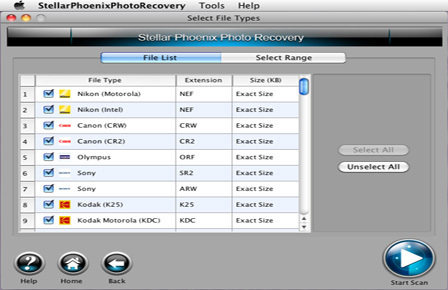
Step 3. In this step choose those file types which you want to recover and then click Start Scan button.
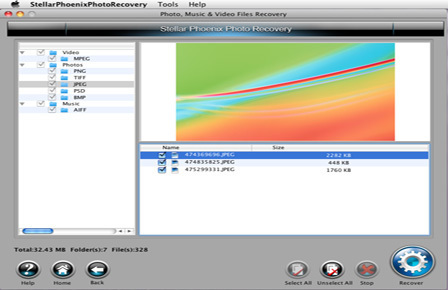
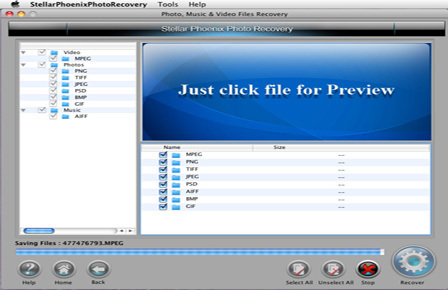
Step 5. After completion of scanning process all recovered photos get store din different folder as per their file type.
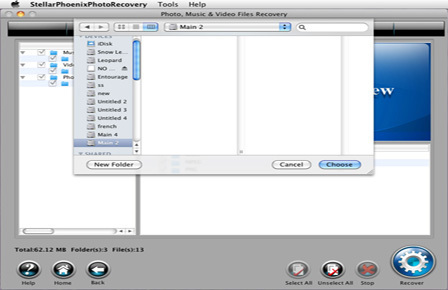
Step 6. In this last step you have to select your location and save all recovered pictures over there for further use.
 |
 |
