User Guide for JPEG Recovery Software
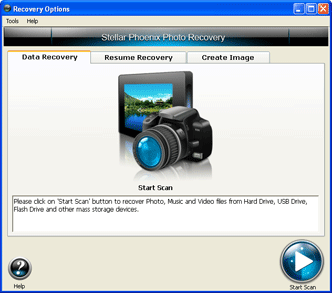
Step 1. Download, and install JPEG Recovery Software on your system. After that connect your storage media with the system and then Run the tool and select Start Scan option.
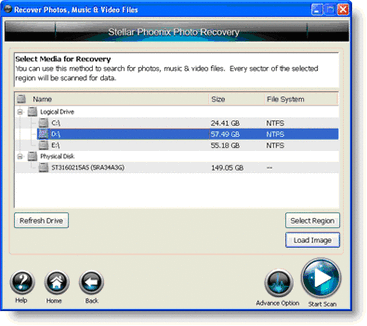
Step 2. Here you have to choose your drive from where corrupted jpeg recovery is needed and then get Start Scan option.
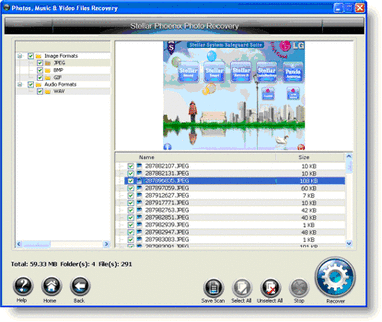
Step 3. Once scanning is completed you can see preview of all recovered pictures.
Step 4. Now select specific region for your storage device.
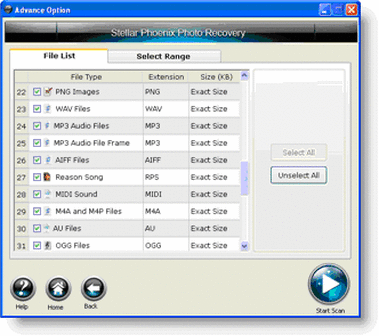
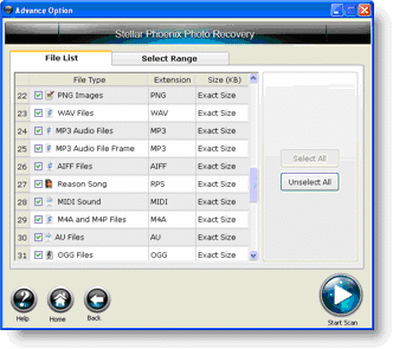
Step 5. In this step you have to choose required file type for recovery.
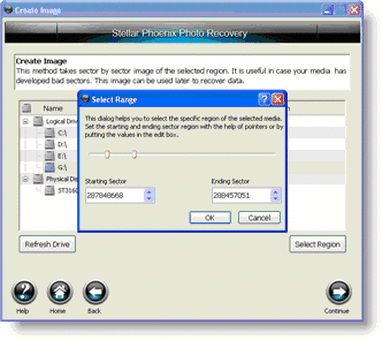
Step 6. Here you can create sector by sector images.
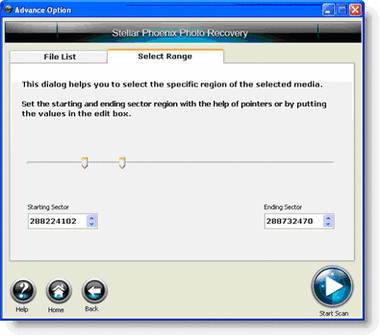
Step 7. Select required range for your storage media.
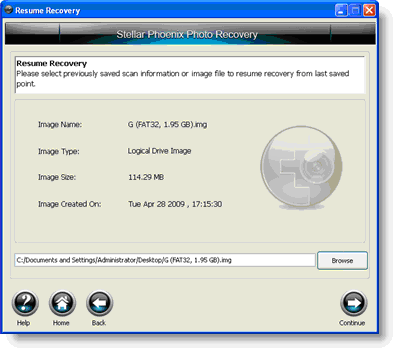
Step 8. Now you should restart Scanning process from last point.
Step 9. In this last step save all recovered jpg files at your desired location.

|

|
